> ## Documentation Index
> Fetch the complete documentation index at: https://docs.perplexity.ai/llms.txt
> Use this file to discover all available pages before exploring further.
# API Groups & Billing
> Learn how to use the Perplexity API Portal to manage access, usage, billing, and team collaboration.
## What is an API Group?
An **API Group** is your organization's workspace in the Perplexity API Portal. It allows you to:
* **Manage billing** and payment methods for API usage
* **Create and control API keys** for accessing the Perplexity API
* **Invite team members** and control their permissions (optional)
* **Monitor usage and costs** across all your API keys
## Prerequisites
Before getting started, make sure you have:
* A Perplexity account (sign up at [perplexity.ai](https://perplexity.ai))
* **Admin permissions** for billing and API key management
* A **credit card** ready for payment setup (you won't be charged initially)
If you're joining an existing team, you'll need an invitation from an Admin. Contact your team lead to get access.
## Accessing the API Portal
Navigate to [console.perplexity.ai](https://console.perplexity.ai) to access your API group. The left-hand sidebar is divided into two sections:
* **Group**: Settings, Members, Billing, API keys, Files
* **API Playground**: Search API, Agent API
***
## Creating and Managing an API Group
To set up your organization:
Click **Settings** in the left sidebar under **Group**.
 Fill out your organization's name, address, and tax details.
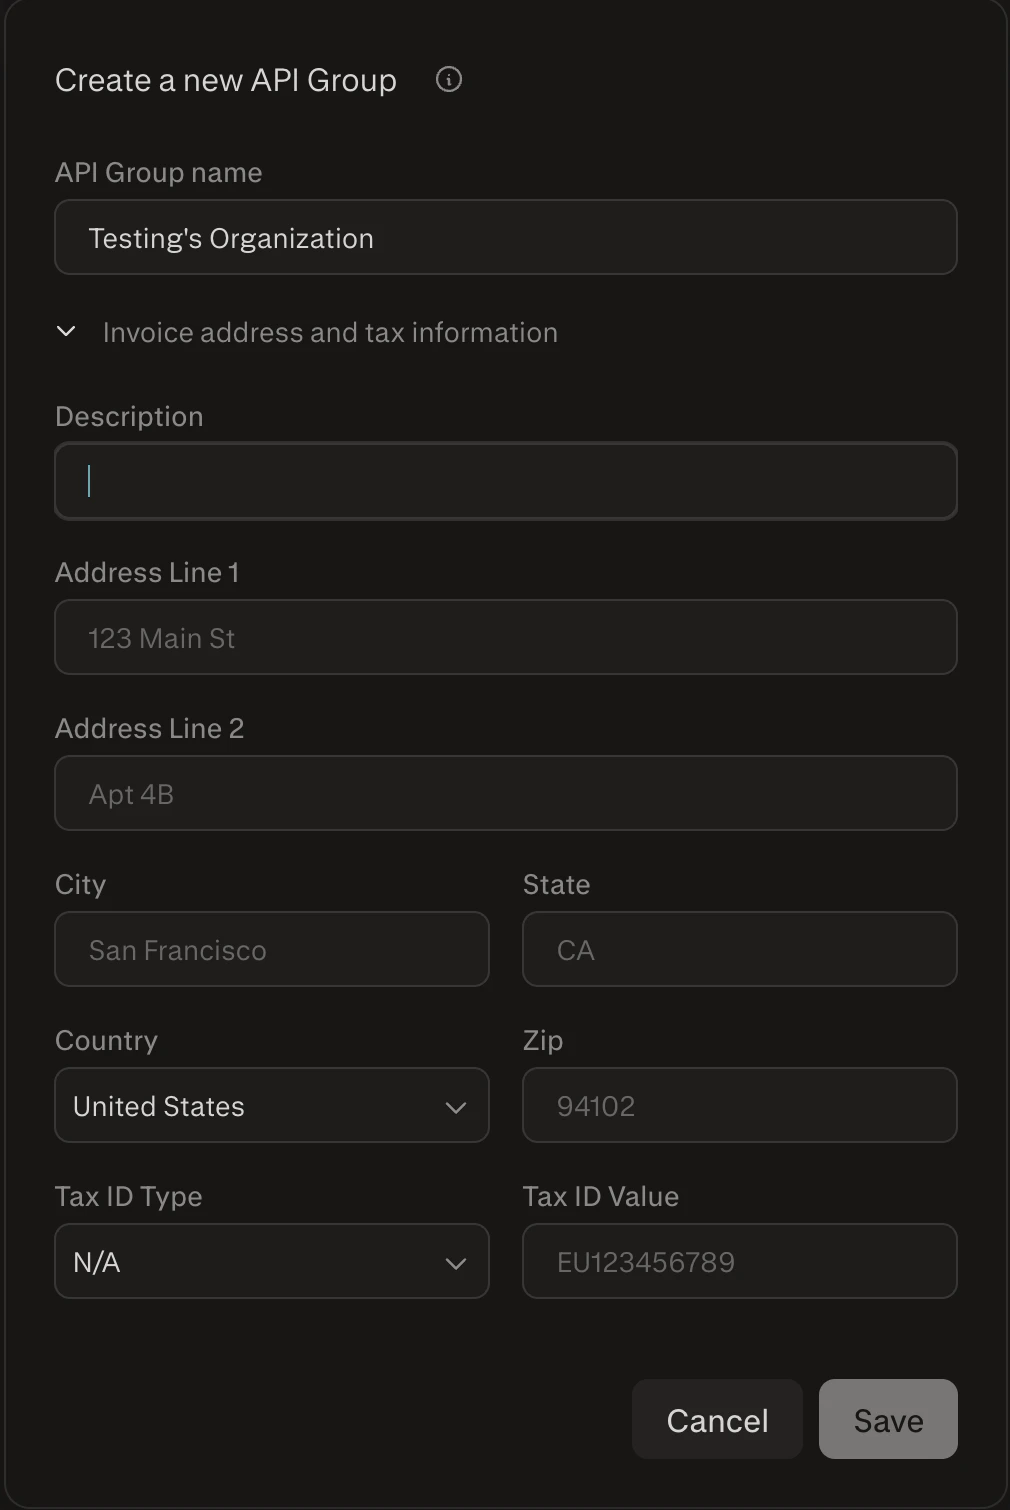 Your organization name and address will appear on invoices and help us support you better.
***
## Billing and Payment Methods
### How Billing Works
The Perplexity API uses a **credit-based billing system**:
* **Credits** are purchased in advance and used for API calls
* **Different models** consume different amounts of credits per request
* **Usage is charged** based on tokens processed and search queries made
* **Automatic top-up** can be enabled to avoid service interruptions
See our [Pricing page](./pricing) for detailed cost information per model and usage type.
### Setting Up Payment
Navigate directly to your API billing dashboard to manage payment methods, view usage, and configure billing settings.
Click **Billing** in the left sidebar. This page shows your credit balance, payment method, usage chart, and billing breakdown.
Your organization name and address will appear on invoices and help us support you better.
***
## Billing and Payment Methods
### How Billing Works
The Perplexity API uses a **credit-based billing system**:
* **Credits** are purchased in advance and used for API calls
* **Different models** consume different amounts of credits per request
* **Usage is charged** based on tokens processed and search queries made
* **Automatic top-up** can be enabled to avoid service interruptions
See our [Pricing page](./pricing) for detailed cost information per model and usage type.
### Setting Up Payment
Navigate directly to your API billing dashboard to manage payment methods, view usage, and configure billing settings.
Click **Billing** in the left sidebar. This page shows your credit balance, payment method, usage chart, and billing breakdown.
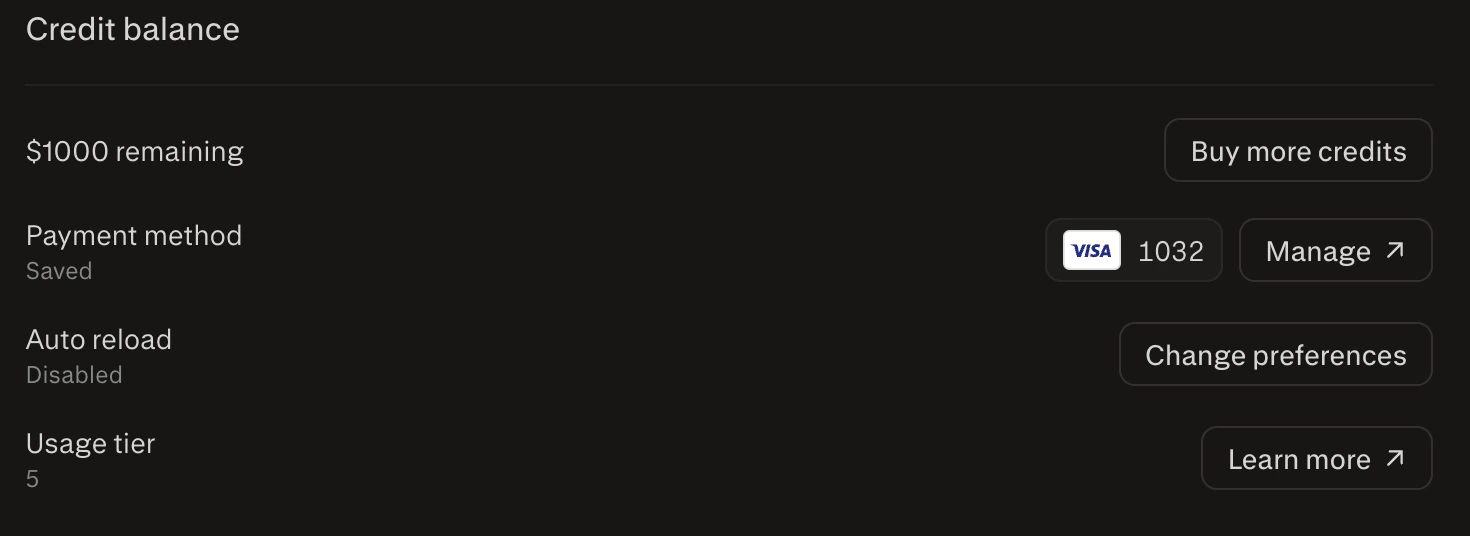 Click **Add payment method** and enter your credit card information. Payment is managed via Stripe — you can also click **Manage ↗** to access the Stripe portal directly.
Adding a payment method will not charge your credit card. It stores payment information for future API usage.
Enable automatic credit top-up by clicking **Change preferences** next to **Auto reload**.
Click **Add payment method** and enter your credit card information. Payment is managed via Stripe — you can also click **Manage ↗** to access the Stripe portal directly.
Adding a payment method will not charge your credit card. It stores payment information for future API usage.
Enable automatic credit top-up by clicking **Change preferences** next to **Auto reload**.
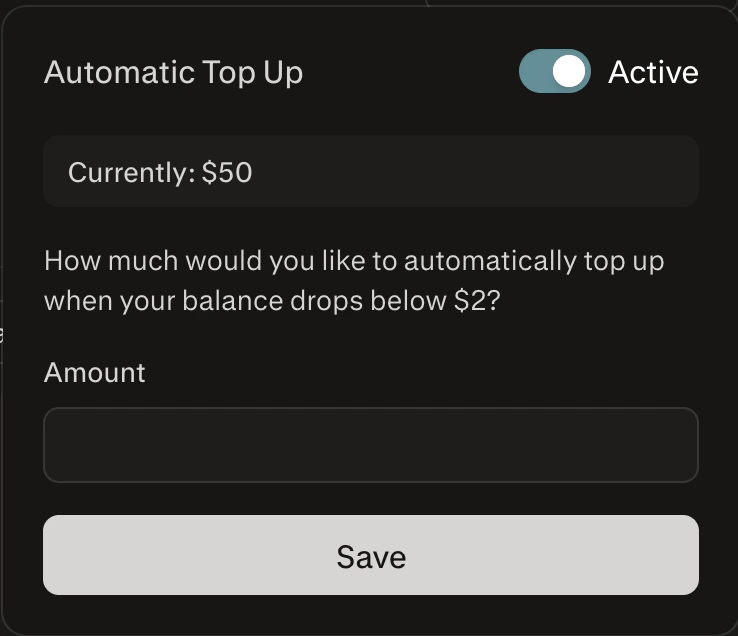 If you run out of credits, your API keys will be blocked until you add to your credit balance. Auto reload prevents this by automatically adding credits when your balance drops below a threshold.
### Credit Balance
The Billing page displays your **remaining credit balance** prominently at the top. You can purchase additional credits at any time using the **Buy more credits** link.
Your current **usage tier** is also shown here — click **Learn more ↗** for details on tier thresholds and benefits.
***
## Managing API Keys
### What are API Keys?
API keys are your credentials for accessing the Perplexity API. Each key:
* **Authenticates your requests** to the Perplexity API
* **Tracks usage** for attribution
* **Can be revoked** for security purposes
* **Should be kept secure** and never shared publicly
You'll need to include your API key in the Authorization header of every API request: `Authorization: Bearer $PERPLEXITY_API_KEY`
### Creating an API Key
Click **API keys** in the left sidebar.
If you run out of credits, your API keys will be blocked until you add to your credit balance. Auto reload prevents this by automatically adding credits when your balance drops below a threshold.
### Credit Balance
The Billing page displays your **remaining credit balance** prominently at the top. You can purchase additional credits at any time using the **Buy more credits** link.
Your current **usage tier** is also shown here — click **Learn more ↗** for details on tier thresholds and benefits.
***
## Managing API Keys
### What are API Keys?
API keys are your credentials for accessing the Perplexity API. Each key:
* **Authenticates your requests** to the Perplexity API
* **Tracks usage** for attribution
* **Can be revoked** for security purposes
* **Should be kept secure** and never shared publicly
You'll need to include your API key in the Authorization header of every API request: `Authorization: Bearer $PERPLEXITY_API_KEY`
### Creating an API Key
Click **API keys** in the left sidebar.
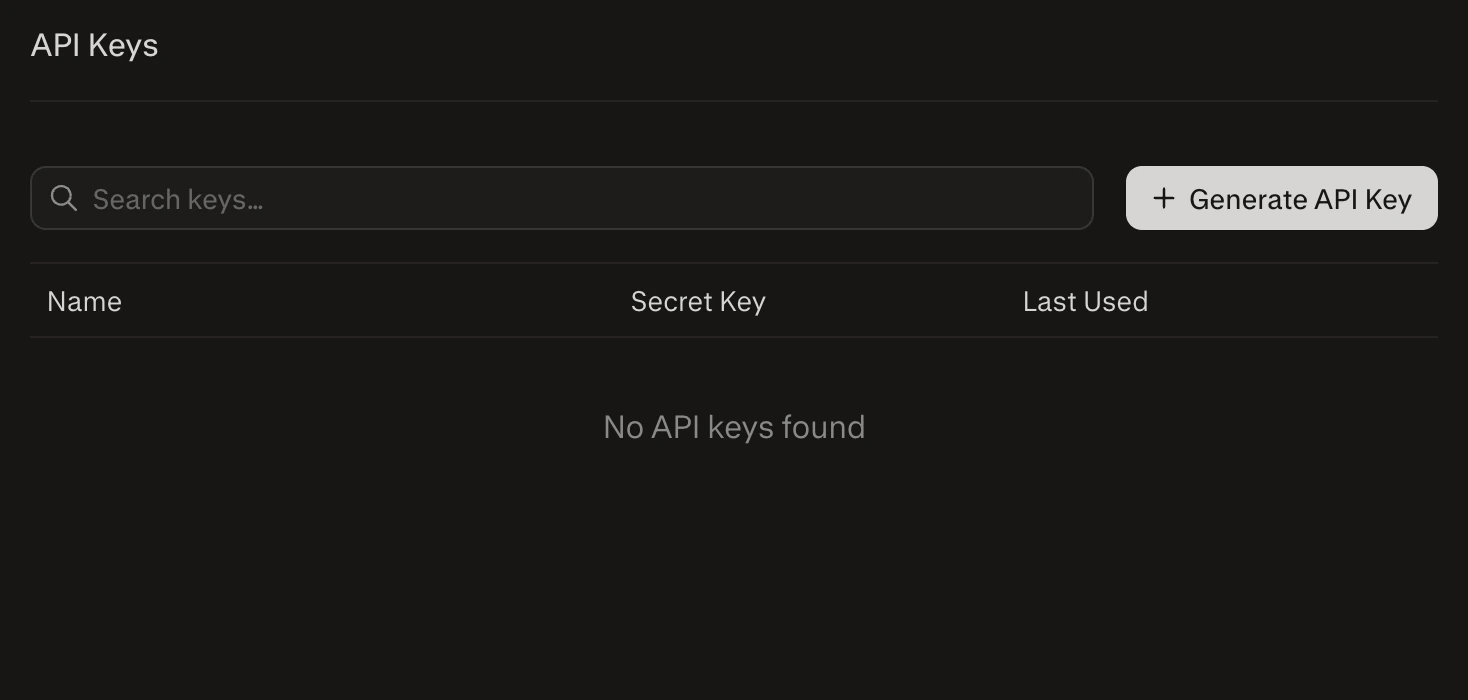 Click **+ Generate API Key** to create a new API key.
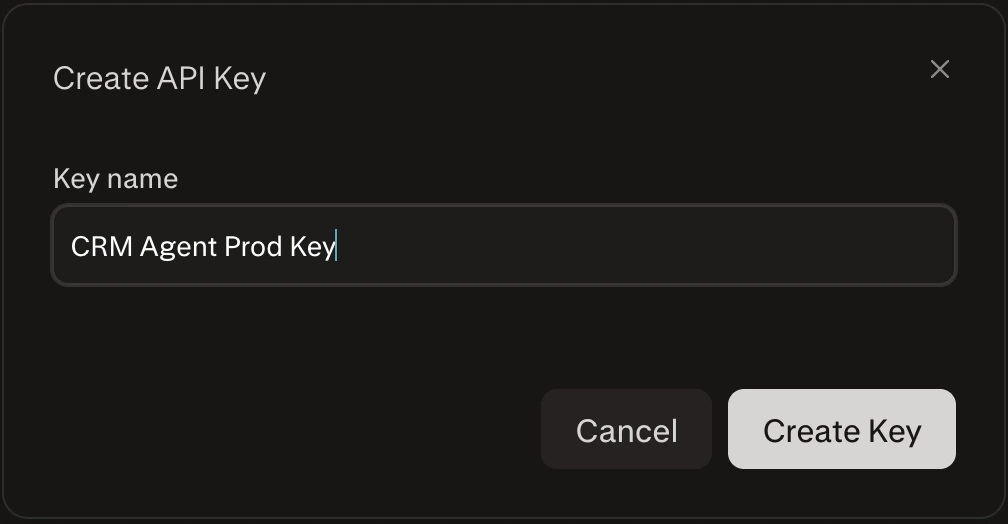 API keys are sensitive credentials. Never expose them in client-side code or share them in public repositories.
***
## Adding and Managing Members
Admins can invite team members to the organization with specific roles: **Admin** or **Member**.
### Adding a Member
Click **Members** in the left sidebar. This page shows your current team members and their roles.
API keys are sensitive credentials. Never expose them in client-side code or share them in public repositories.
***
## Adding and Managing Members
Admins can invite team members to the organization with specific roles: **Admin** or **Member**.
### Adding a Member
Click **Members** in the left sidebar. This page shows your current team members and their roles.
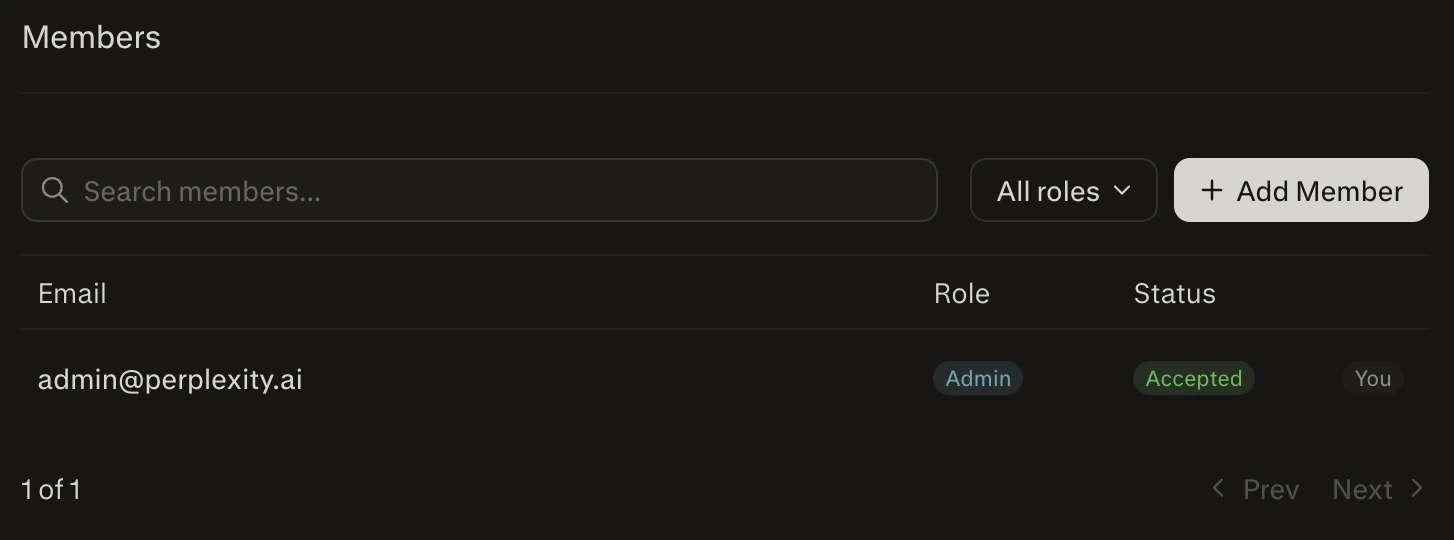 Click **+ Add Member**. Enter the user's email address and click **Invite**.
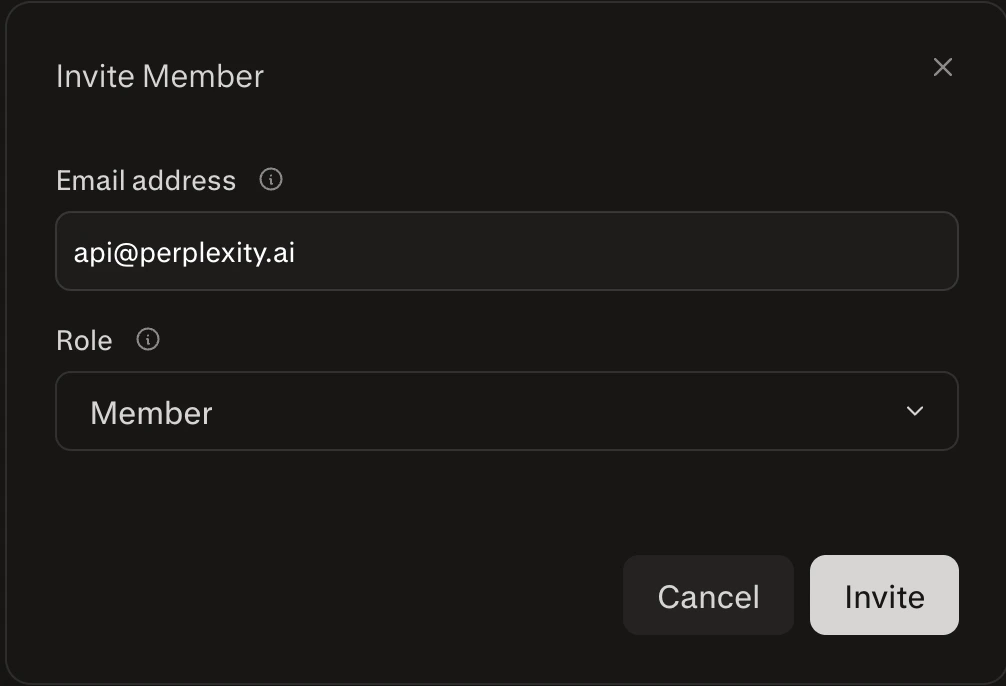 The invited user will receive an email with a link to join your group.
Once they accept, they'll appear in your member list with their assigned role.
### Filtering Members by Role
Use the dropdown to filter your list of team members by role.
### Roles
* **Admin**: Full access to invite/remove members, manage billing, and view usage data.
* **Member**: Can view usage and account limits but cannot modify settings.
Only Admins can make changes to billing and member permissions.
***
## Viewing Usage Metrics
All members can monitor API usage directly from the **Billing** page in the console.
The invited user will receive an email with a link to join your group.
Once they accept, they'll appear in your member list with their assigned role.
### Filtering Members by Role
Use the dropdown to filter your list of team members by role.
### Roles
* **Admin**: Full access to invite/remove members, manage billing, and view usage data.
* **Member**: Can view usage and account limits but cannot modify settings.
Only Admins can make changes to billing and member permissions.
***
## Viewing Usage Metrics
All members can monitor API usage directly from the **Billing** page in the console.
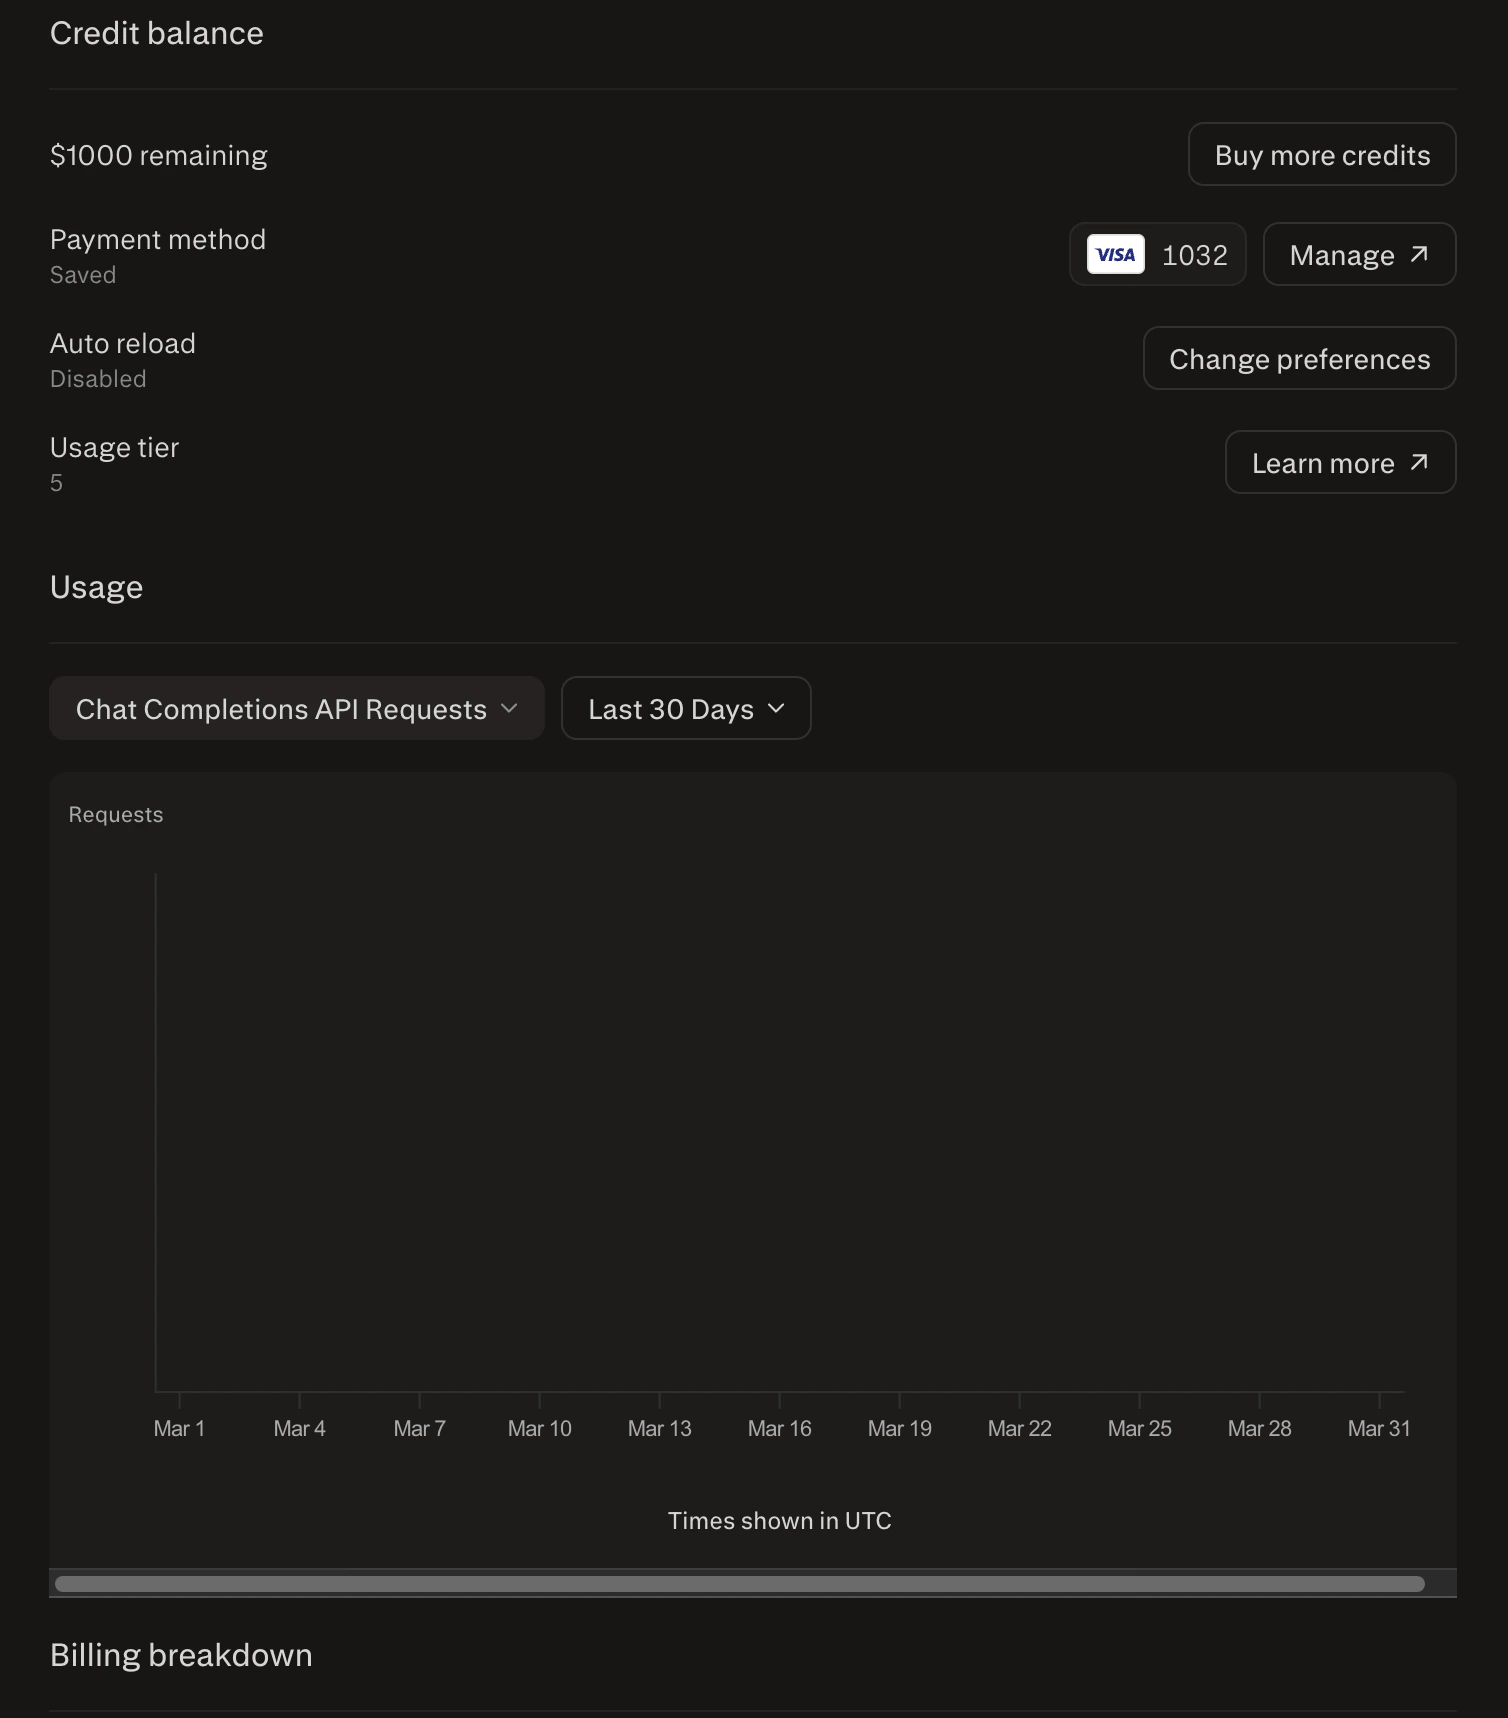 The **Usage** chart lets you track activity over time with the following filters:
* **Metric selector**: Choose from Chat Completions API Requests, Input Tokens, Output Tokens, Citation Tokens, Reasoning Tokens, Deep Research Requests Count, Search API Requests Count, or Pro Search API Requests Count
* **Time range**: Filter by Last 7 Days, Last 30 Days, or custom range
Below the chart, the **Billing breakdown** table shows a per-model breakdown of usage quantity, rate, and cost — giving you a clear picture of spend by product.
Usage metrics help you monitor API activity and optimize for cost or performance.
## Invoice History
Below the usage chart and billing breakdown on the **Billing** page, you'll find your **Invoice history** — a record of all past invoices with their date, status, and cost.
The **Usage** chart lets you track activity over time with the following filters:
* **Metric selector**: Choose from Chat Completions API Requests, Input Tokens, Output Tokens, Citation Tokens, Reasoning Tokens, Deep Research Requests Count, Search API Requests Count, or Pro Search API Requests Count
* **Time range**: Filter by Last 7 Days, Last 30 Days, or custom range
Below the chart, the **Billing breakdown** table shows a per-model breakdown of usage quantity, rate, and cost — giving you a clear picture of spend by product.
Usage metrics help you monitor API activity and optimize for cost or performance.
## Invoice History
Below the usage chart and billing breakdown on the **Billing** page, you'll find your **Invoice history** — a record of all past invoices with their date, status, and cost.
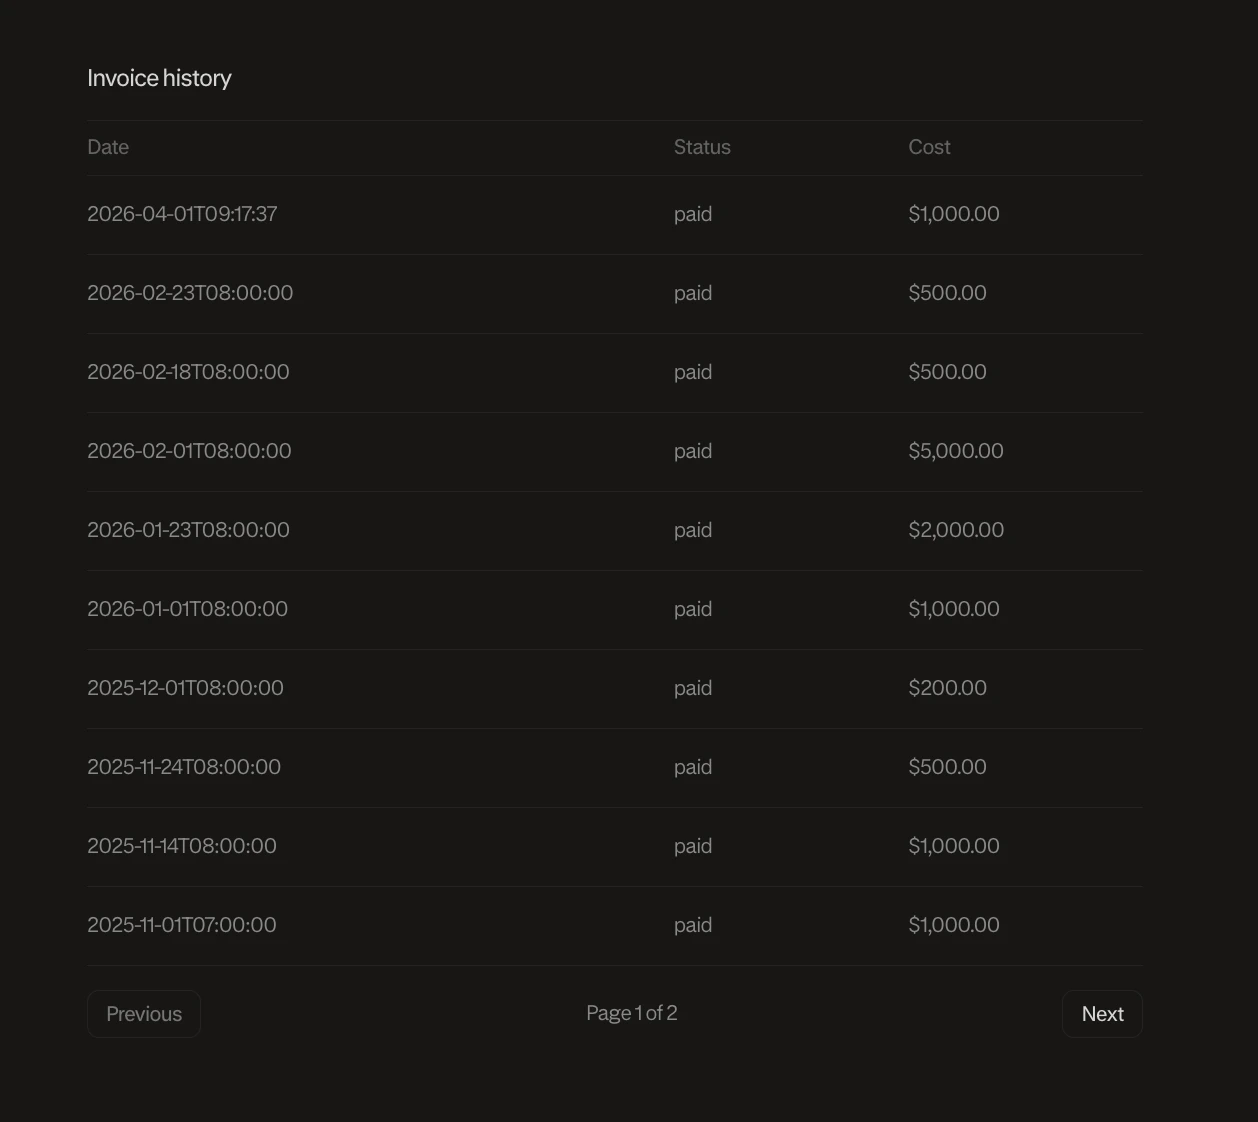 Invoices are generated automatically each billing cycle. Use the **Previous** and **Next** controls to paginate through older records.